Showing posts with label furniture. Show all posts

Tuesday, July 15, 2014

New Table Saw

The garage can be a tight fit trying to make everything fit and workable in the shop. 
So I made a table saw/router table that folds in to a work table. You know to save on space. It ended up being more complex of a build than I thought. But it still seams relatively simple.

The Ideas was to cut the out feed table in half and put it on hings. 
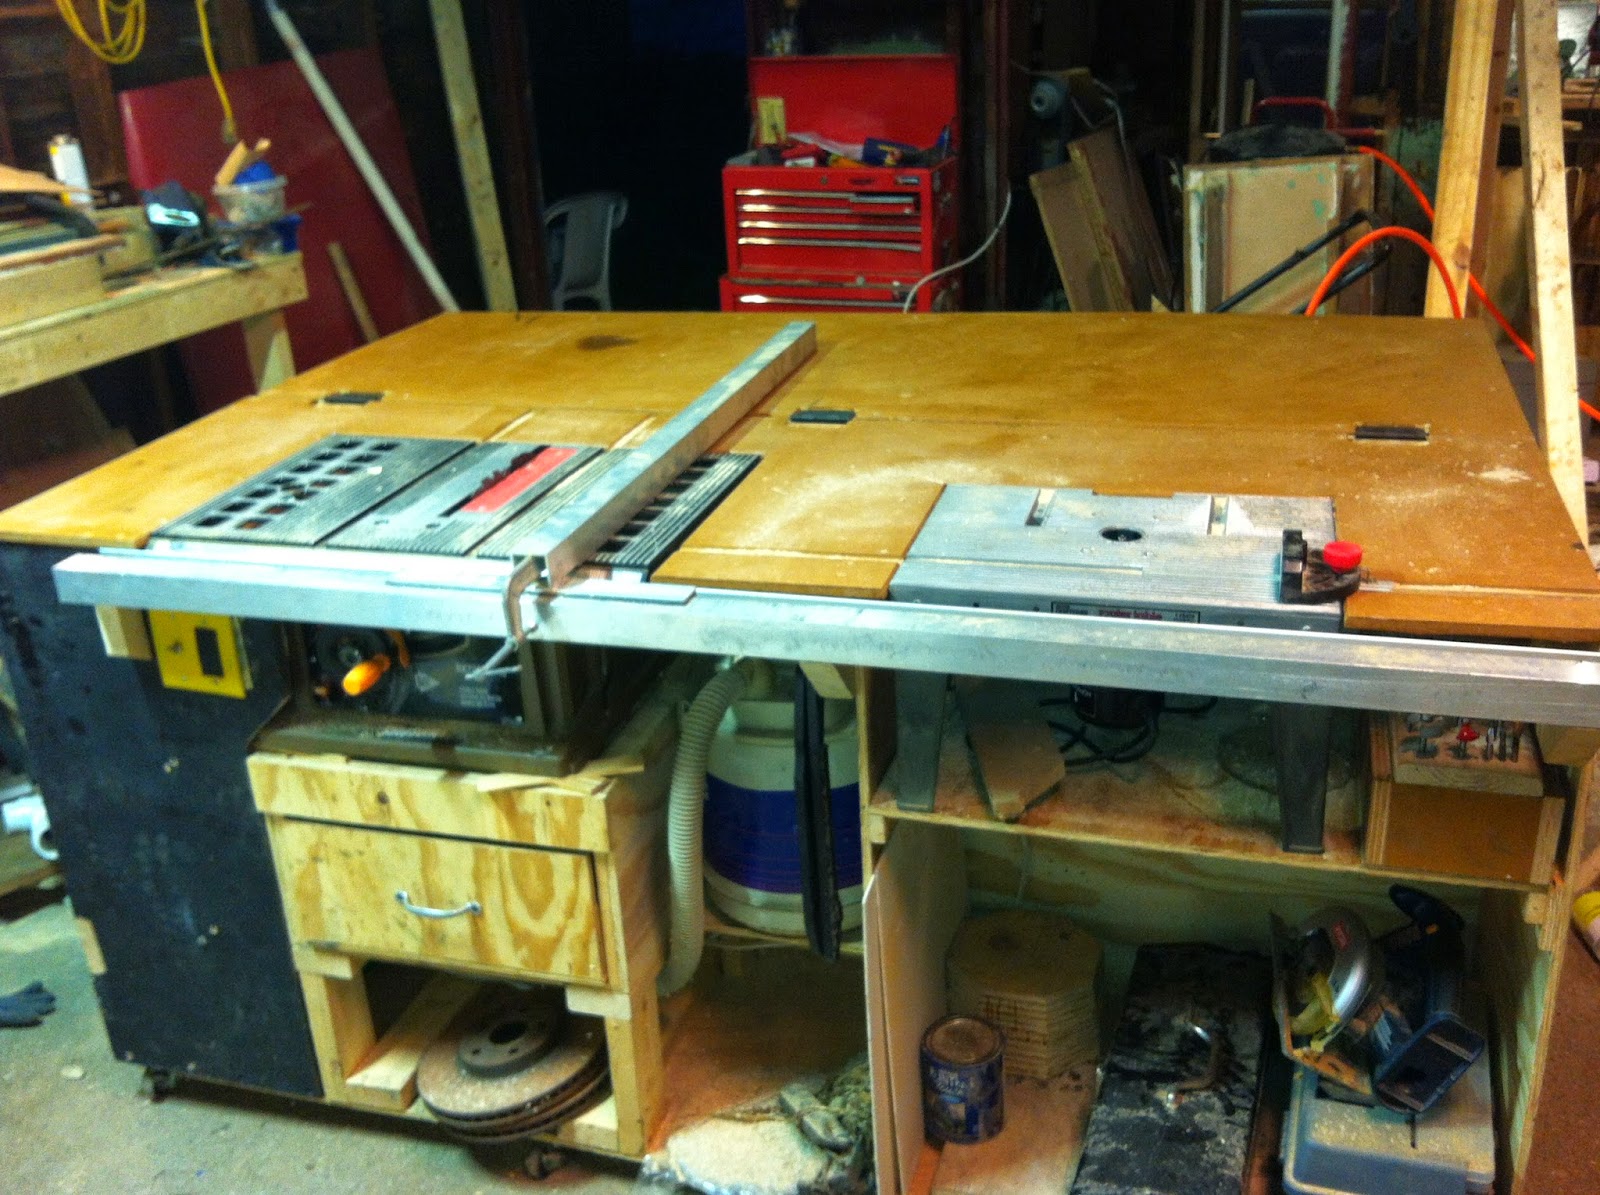

It also has dust collection with a chip separator (a 5 gallon bucket) that ties in to the table saw and the router. There is also collection for duct and debris that the vacuum does not get.  Every thing is wired in to one main (and much larger) power switch with a toggle between the router and the saw. Only one tool can be use at a time. I am planning to make a large stop "swtich" so shut off can be done vary easily.


I still have to figure out what kinds of things will be stored on it and how, I'm thinking drawers.
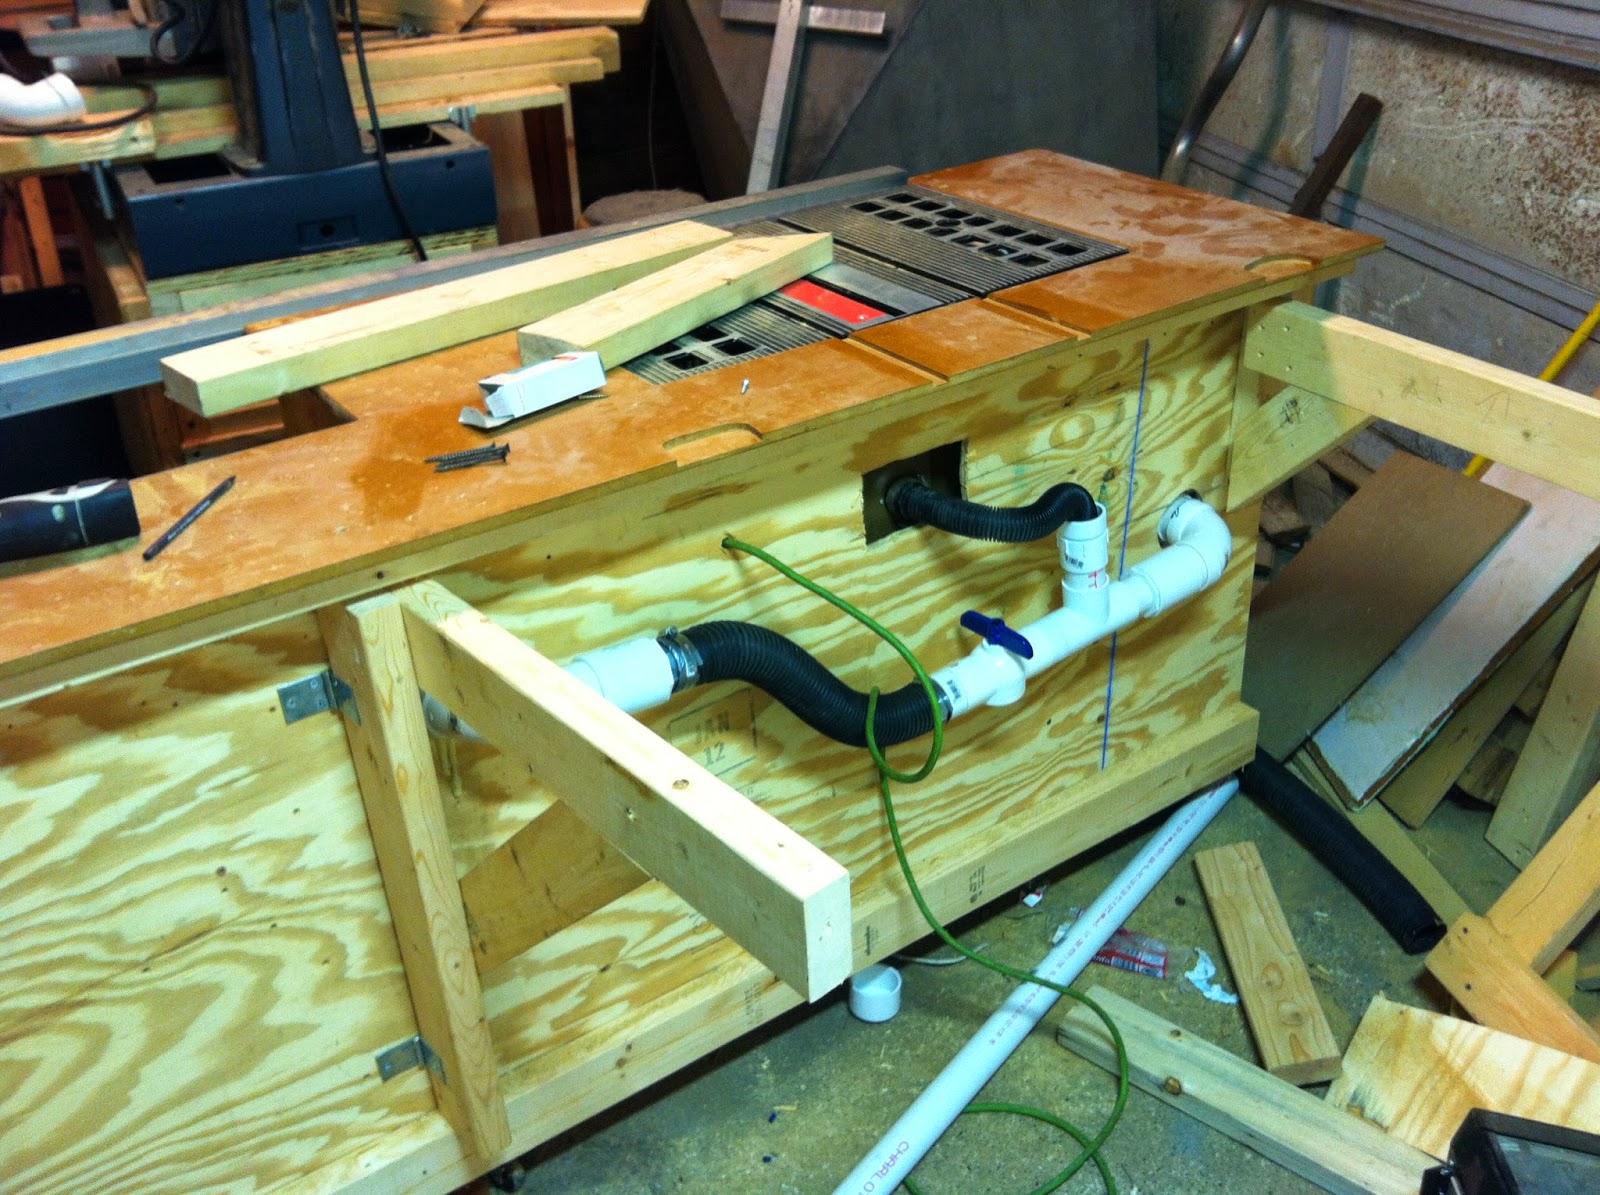

The back side has the power cord, dust collection and supports for the out feed table. The supports are hinged and fold up under the lip on the backside of the table. Most everything is flush(ish) with the back of the table.


I could not easily get the hinges I wanted so I modified door hinges to slide up and down just enough so that when folded it laied flat and dropped down so that the feed surfaces where flush and nothing would catch coming out of the saw.  The out feed table is .5" MDF lacquered to seal it and the work table is .5" Plywood screwed together. If any part needs replacing it can be taken apart.


It's solid, but not a workbench I would do and heavy pounding or the like on it and you really can't clamp to the table either.  Assembly, other pep or finish work the table will work nicely. The nice thing is feed surface of the table saw will stay protected, you should NEVER do work on the out feed table.

 A set up like this makes a $100 table saw just as useful as a $5000 saw.  Maybe lacking some of the power but...


Sunday, January 19, 2014

Bathroom Part 4, Built in Cabinets

I salvaged the cabinets from the bathroom with the intent of putting them back in to the room. The ceiling is pitched so there is limited useable space, but I can put them back in to the walls. They are in and ready for the sheet rock, well cement board, to go in.


'


The first cabinet was under the window forming a kind of vanity. It appears to have been made from an old shipping create, with the address still on it. 


The second came from the pantry off the kitchen. That is now the laundry room.  I move the washer and dryer out of the 100 year old lime stone basement. With cabinet and drawers built in I get more use out of the room with out using up the limited floor space.


Monday, January 13, 2014

Bathroom Part 3, Rough Work

With demo all done its time to do the hard work. I pulled the cast iron stack and replaced it with ABS so I could rough in the new plumbing.  New wiring and lighting went in. There was only one outlet in the bathroom, one light, and no vent fan. Now there are 5 lights, 4 reassessed in the peak and one by the sink, multiple GFI outlets to go in as well as a vent fan in the only place I could figure it can go.  The room was not insulated. I put in foam board in and when the roof gets done it will be ready for venting.


Since I pulled the radiator and I had a 3" step to make up I decided on radiant floor for the heat.  I also don't have to try and figure out where to put the radiator.


The radiant floor even went in to the shower pan.


The shower is going to get glass block in the window.
I still have somethings to finish up the shower and tub drains as well as putting the built-ins back in. 


I have to start thinking about tile, fixtures, and colors.

Tuesday, November 29, 2011

The Last of the Fading Light (2011)

With the last of the light and the good whether I got a stand for my printers and a table/night stand made. Yea, they do have an Ikea like feel but I got both made in an hour and out of materials  I had laying around.


Wednesday, September 21, 2011

Ice Box Table


I made this table to function as an outdoor "coffee" table with an ice box in the middle. The idea being that it would go on a patio or deck and could replace a cooler while still a functional table. The ice box does not need to be used the cover can go on it and it is a normal table. The ice box has a drain in the bottom so water can be emptied.

Materials: Ceder and Galvanized Steel

Wednesday, July 20, 2011

Tuesday, July 12, 2011

It Worked!

Some how I got a piece of 3/4 plywood, piece of 1/2 plywood, aluminum channel and a handful of clamps to function as a bench break.


It's not a perfict fold but after I bolt, rivet, weld and what ever else I do to it it will look good. 
It may need some time with the rubber mallet.

When I'm done the tailgate of my old truck will be a nice bench.

Tuesday, June 14, 2011

storage

I got a wood lathe a few weeks ago (haven't used it yet). Made this little storage and pedestal for the grinder and all the tools and parts for the lathe.

Tuesday, May 17, 2011

Monday, May 9, 2011

Dog House

I came up with this design for a dog house some time ago (maybe last the end of summer). I wanted to design a dog house that would be simple and minimal. So I fired up SketchUp and made a rendering of it. It is large about 8'x4'x3' and is designed with a weather barrier on the inside. 


I also put together a Illustrator file as a drawing and reference.

Sunday, August 29, 2010

Gifts (2)


I made this table as a prototype, an accent table with a wine rack on the bottom. I gave it to a good friend of mine as a wedding gift. I hope she is as happy with it as I am.